
5 Reasons for Stuck Fermentation (and How to Fix Them!)
5 Reasons for Stuck Fermentation (and How to Fix Them!)
A lot of work goes into the fermentation process. The process of taking hours to pick fruit, crush berries, squeeze juice, check Ph and Acid levels takes a lot of time and effort. A slow or stuck fermentation can be frustrating and disappointing. However, most of the issues causing a stuck fermentation are easily remedied. Here are a few of the most common reasons for a slow or stuck fermentation process, and the steps you can take to fix them and get back to wine making!
Problem: Temperature
Yeast can be picky - especially wine yeast! They tend to be happiest when they are fermenting in a temperature range of 70-75 degrees Fahrenheit. If you tend to keep your thermostat on the cooler side, you could have a very slow, or stuck, fermentation. Most areas that home wine makers are fermenting also tend to be cooler areas of the home, such as garages, basements, cellars, and kitchens. There are some simple ways to remedy this.

- Wrap your fermentation vessel in a thick blanket, such as a comforter.
- Keep them off the floor where cool air settles, especially if the floor is tile or concrete. Try to keep your fermentation vessel on an elevated surface, such as a workbench.
- Use an adhesive crystal strip thermometer to keep track of the fermentation temperature.
- Use a Brew Belt! http://www.homebrewit.com/the-brew-belt-thermostat-controlled/
Also keep in mind that consistent temperature is just as important as finding the correct temperature. Try to keep your fermentation vessel away from areas of the home where temperature fluctuates a lot, such as hallways, near doors that open and close often, and rooms with lots of windows where sun can shine in.
Temperatures that become too high can damage yeast, and also become breeding ground for unwanted bacteria and other microorganisms that may wreak havoc on your fermenting wine. Climate control is key!
   Problem: Expired Yeast
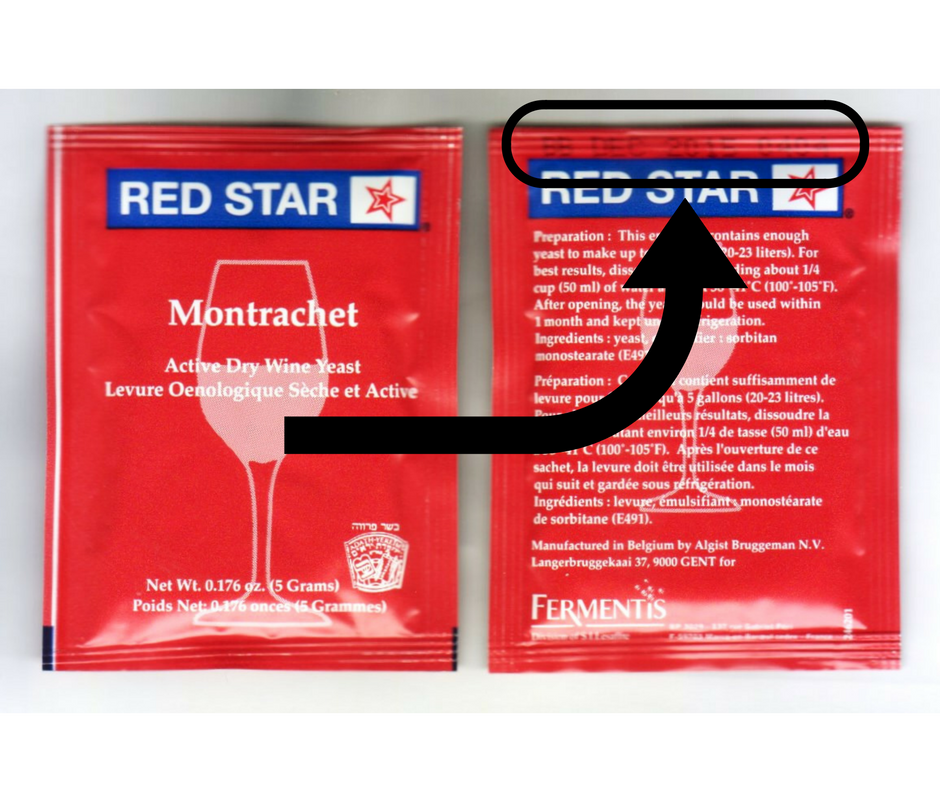
This is the world of winemakings version of is it plugged in?. Not checking the expiration date before pitching yeast is a common error that most brewers and vintners make at least once. Has your yeast expired? A satchel of yeast, stored at room temperature, will stay active for around one year. Kept in a refrigerator, you may get up to two years. Beyond that, it is best to switch out for a fresh packet. Make sure to check your expiration date. If you have already added yeast you think may have expired, here is an easy fix:
How to fix it:
- Pitch a new packet of yeast with a valid expiration date.
- Add Yeast Nutrient.
- Stir.
Adding another yeast packet should not affect the taste or aroma of the wine.
Problem: Using Distilled Water
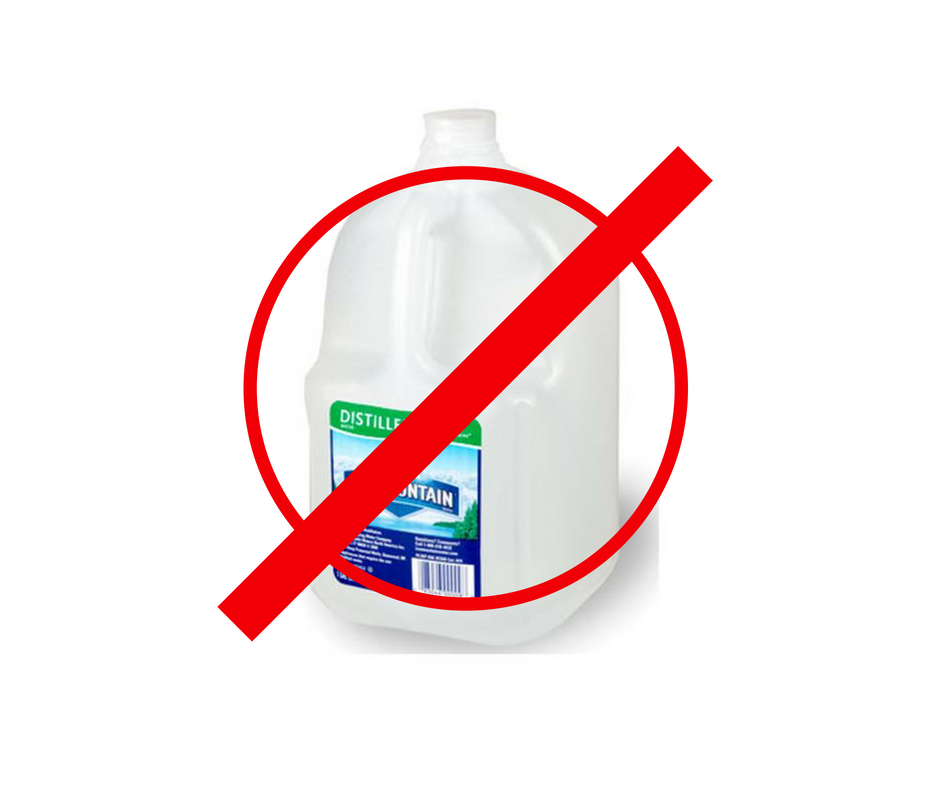
It may seem like common sense to use the cleanest water possible for making your wine, but this is a common misconception that can lead to an infuriatingly stuck or slow fermentation. Distilled water is not only void of many nutrients found in spring and tap water, but has also had much of its oxygen removed as well - both integral for happy and healthy yeast. If you are unhappy with the taste or chemical composition of your tap water at home, use spring water instead.
How to fix it:
- If you are thinking of using distilled water - dont! Try instead a natural spring water, or even tap water if yours is acceptable. Most of the time if you find your tap water tasty to drink, it is acceptable for making wine.
- If you have already used distilled water, first, aerate the wine using a spoon to stir or a drill mounted whip.
- Add Yeast Nutrient and DAP (Diammonium Phosphate) to infuse your wine with the nutrients the yeast need to ferment and multiply for a healthy fermentation.
- Stir the nutrients in well, and pitch another packet of yeast for good measure.
Problem: Fermentation is Done

Have you taken a hydrometer reading? On occasion, a fermentation can take off like a bat out of hell. Most fermentations take 1-2 weeks to complete, but every once in awhile, may just ferment to completion overnight while you sleep. If you wake up to find no activity in your bubbler, first check with a hydrometer to see if there has been any activity. You may be surprised to find how much happened overnight!
Also, if you arent seeing any activity in your bubble or airlock, check to see that carbon dioxide isnt escaping from an unsecured lid. After years of using a bucket fermenter, the seal of a lid can start to fail, letting carbon dioxide escape. In this case, you wouldnt see any activity in the bubbler, which may lead you to believe your fermentation is stuck.
If your fermentation is complete, but you arent happy with the approximate ABV, you can always add more sugar to bump it up. Just make sure to use a yeast strain that is more tolerant to higher ABV, such as a Champagne yeast.
How to fix it:
- Check the seal on your fermentation vessel.
- Take a hydrometer reading to get an accurate picture of the fermentation.
- If you are unhappy with the ABV, add sugar, use a strain of yeast that is more tolerant of high ABV, stir, and start fermenting again.
Problem: Your Must Contains Preservatives

Sulfites are a different story. Sulfites are added to pasteurize, meaning, to destroy wild bacteria and yeast already in the juice. Sulfites dissipate over time, so all is not lost if you suspect your juice contains sulfites.
How to fix it:
- Check your juice before you buy. You cannot ferment juice containing sorbate.
- If you suspect your juice contains sulfites, allow the juice to breath overnight and allow the sulfites to dissipate by covering your fermenter with only a light towel or sheet. Then, add yeast nutrient, pitch new yeast, stir, and attempt fermentation again.
Never give up! Ive heard many frustrated stories from home brewers and winemakers about juice that wont ferment, and the those stories usually end with the juice being poured down the drain. In most cases a stuck or slow fermentation is easily remedied. We stand behind every product we sell! If youve checked out these common problems and are still experiencing problems, feel free to call us in customer service at 574-295-9975. Cheers!